Mastering Picture Frame Wire Installation for a Secure, Level Hang
Hanging a picture with wire might seem straightforward, but getting it to stay level and secure over time takes a bit more care than just looping wire over a nail. I've lost count of how many times I've walked into a room and seen a frame tilted slightly to one side, or worse, heard that heart-stopping crash in the middle of the night. The culprit is almost always a rushed or poorly thought-out picture frame wire installation. Getting it right from the start saves your walls, your frames, and your peace of mind.
The key is understanding that the wire isn't just there to hold the frame up; it's part of a system that distributes weight evenly and allows you to adjust the hang without fighting the hardware. Whether you are building a gallery wall or hanging a single heavy mirror, the same principles apply. Let me walk you through the process the way I've learned it over years of hanging art in my own home and helping friends with theirs.
Choosing the Right Hardware for Your Frame
Before you even pick up a wire cutter, you need to look at the back of your frame. Not all frames are built the same, and using the wrong hardware can lead to failure down the road. For smaller, lightweight frames, a sawtooth hanger might be sufficient, but for anything over a few pounds, you want D-rings or brass eyelets. These provide a solid anchor point for the wire, much more reliable than adhesive strips or small nails.
For larger pieces, I always recommend twisted picture wire over single-strand wire. Twisted wire is stronger and resists fraying where it bends around the D-ring. It also holds its shape better when you create the loop, which helps keep the wire taut. A taut wire is essential for keeping the frame level and preventing it from sliding on the wall hook. Loose wire is the main reason pictures tilt; the wire shifts on the hook, and the frame follows.
Step-by-Step: Installing the Wire on the Frame
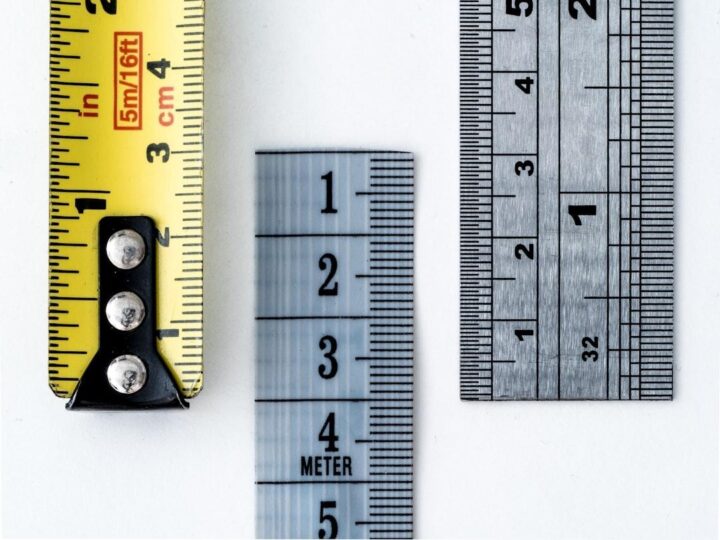
Start by measuring the distance from the top of the frame to where you want the wire to attach. You don't want the wire too high or too low. A common rule is to attach the D-rings about one-third of the way down from the top. This gives the wire a good angle and makes the frame easier to level. Mark this spot on both sides of the frame, using a measuring tape to ensure they are exactly the same distance from the top. Otherwise, your frame will hang crooked no matter how careful you are with the wire.
Now, screw the D-rings into the frame at those marks. For wooden frames, pre-drill a small pilot hole to avoid splitting the wood. For metal frames, you may need specialized hardware. Once the D-rings are in place, cut a length of twisted picture wire long enough to go from one D-ring to the other, plus about 12 extra inches for looping and twisting. A wire cutter makes clean cuts; a dull blade will crush the wire ends, making them harder to thread.
Thread one end of the wire through the D-ring, leaving a 4- to 5-inch tail. Then wrap that tail around the main wire, twisting it tightly with pliers. I usually twist it about five or six times, then snip off the excess tail and press the sharp end flat against the wire so it doesn't scratch the wall. Repeat on the other side. The key here is tension. You want the wire to be taut but not so tight that it bows the frame. A properly done picture frame wire installation will have the wire running straight across the back with just a slight dip in the middle when you lift the frame by it.
Selecting the Right Wall Hardware
Your frame hardware is only as good as the wall anchor you use. A common mistake is to use a small nail or a wall hook without checking what's behind the drywall. For anything over 10 pounds, you need a wall anchor or a stud finder to locate a wooden stud. A stud is the most secure option. If you cannot hit a stud, use a toggle bolt or a heavy-duty wall anchor rated for the weight of the frame plus the wire.
For a gallery wall, where you have multiple frames close together, an art hanging system can be a lifesaver. These systems use a rail mounted near the ceiling and adjustable cables or hooks that let you move pictures around without re-nailing. But for a single piece, a good wall hook anchored into a stud or using a proper wall anchor will do the job. Remember, the wire will sit in the hook's groove, so choose a hook that is deep enough to keep the wire from slipping out, and wide enough to distribute the load evenly.

Leveling and Adjusting the Hang
Once your frame is on the wall, you need to level it. A spirit level is more reliable than relying on your eye, because floors and ceilings are often not perfectly level. Place the level on top of the frame or on the bottom rail. If the bubble is not centered, lift the frame off the hook and adjust the wire. This is where having a taut wire makes a difference; if the wire is loose, you'll be fighting it every time you try to level the frame.
You can also adjust the proportional hanging height. The center of the picture should ideally be at eye level, which is about 57 to 60 inches from the floor. But that's a guideline, not a rule. In a room where you're mostly seated, you might hang it a bit lower. In a hallway, you might hang it higher to avoid bumping into it. Use your judgment and a measuring tape to find what looks best in the space.
Common Pitfalls and How to Avoid Them
Wire Slipping on the Hook
If the wire keeps sliding on the wall hook, the hook might be too small or too smooth. Some hooks have a rubber coating that grips the wire. You can also use a small piece of adhesive felt on the hook to add friction. Another trick is to use a French cleat for very heavy frames. A French cleat distributes weight across a wide area and holds the frame rock-solid. But for most standard frames, a good wall hook and a taut wire are enough.
Frame Tilting Forward
If your frame tilts forward at the bottom, the wire might be too long, or the D-rings are placed too low. Shorten the wire by re-twisting it, or move the D-rings closer to the top. The goal is to have the wire pull the frame tight against the wall. For frames with a deep profile, you can also add small rubber bumpers to the bottom corners to keep the frame from rocking.
Wire Breaking Over Time
Wire can fatigue, especially if it's nicked by a sharp edge or if it's not rated for the weight. Always use twisted picture wire rated for the full weight of the frame, not just the weight of the art. And check the wire every few years. If it looks frayed or corroded, replace it before it fails. This is not a place to cut corners.

Final Thoughts on a Secure Hang
A good picture frame wire installation is invisible when done right. The frame hangs level, the wire stays hidden behind the frame, and you don't think about it until you need to move it. That's the sign of a job well done. Whether you're hanging a single family photo or building a gallery wall, take the time to measure twice, choose the right hardware, and get that wire taut. Your walls and your art will thank you.
For more tips on hanging hardware and specific product recommendations, burlapandblue.com offers a range of options to make your next project easier. But no matter where you get your supplies, the fundamentals are the same. A little patience now saves a lot of frustration later. And when that picture stays level for years, you'll know you did it right.